When you open the library for the first time, there won’t be any files on the list. So your first task is to upload images so that you can use them in posts and pages. Please take note that you can also add images and other files directly from the article you’re editing. Please see the next section for more details about that.
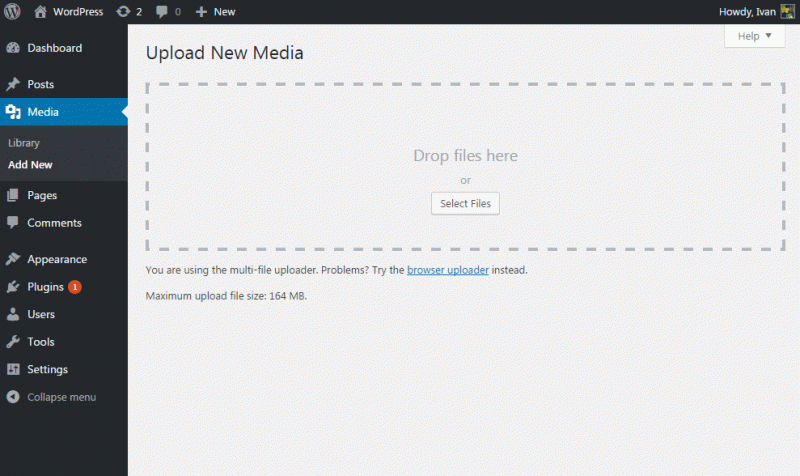
To upload new images directly to WordPress Media Library, please follow these steps:
- Navigate to Media -> Add New
- Click “Select Files” button or drag&drop images to the window
- If you clicked the button, select images and other media files from your computer

From the moment you opened images from your computer or dragged them to the dashed box, WordPress will start uploading the files. Depending on the speed of your internet connection, and the size of files, it may take you up to a few minutes on average until WordPress finishes the upload process. Every file will get its personal progress bar so you can know how fast (or slow) that particular file is uploading.

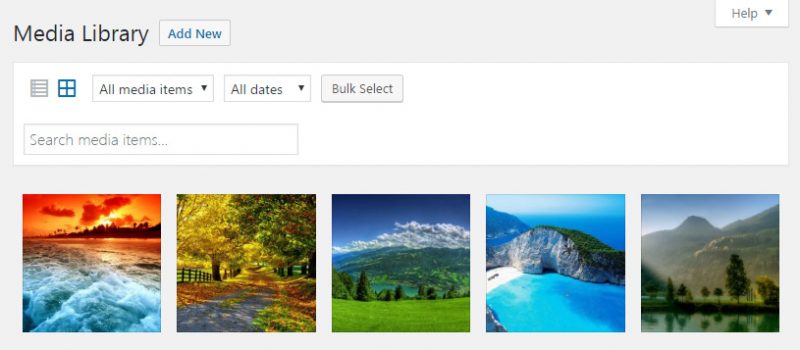
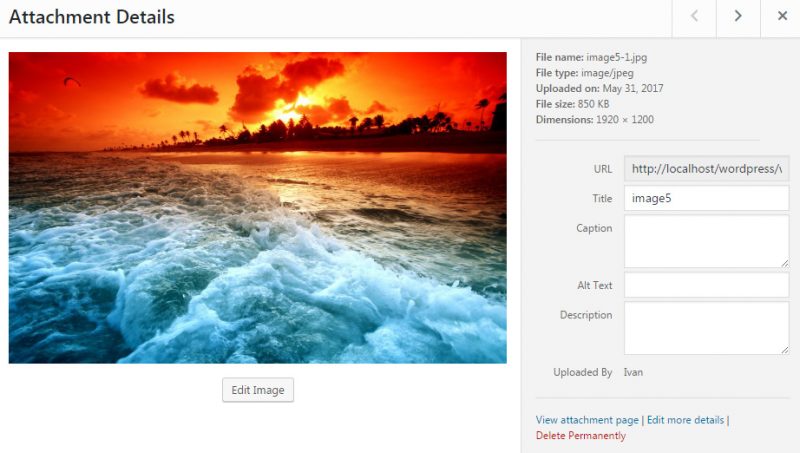
Next Select any image from the library, a popup window will appear and show you the details about that image.

On the right side, you will find information like image name, file type, upload date, file size and dimensions Below that you can see the URL of your picture To edit the image, change its title, caption, alt text (shown to those users who can’t open the photo), and description. You should at minimum always add a “short” title and a longer more detailed description in the Description area. this will help with SEO practices.
Just below the description field, you can see which user uploaded this particular media file. To edit more details, click the “Edit more details” link at the bottom
